LARD LOVE.
Yesterday we headed over to the Porter Road Butcher in Nashville to see what we could find in the way of lard. Lard is quite possibly the most important food product in our diet––almost every meal begins with lard. Google "the health benefits of lard" and you will be fully supplied with enough enthusiastic and favorable sources to write a small dissertation on why everyone should hop back on the lard wagon. For me it's about flavor and cooking, but could just as easily be about health. High in monounsaturated fat, the kind which actually improves blood cholesterol levels, lard is not only tasty but a nutritious alternative to products like butter, and definitely to things like margarine.You don't want to get your lard from just any source though: it's buying meat and you should know the animal was raised humanely on a natural diet. The butchers didn't have any lard rendered at the time, but kindly offered to sell us some pork fat to render ourselves. I love rendering lard, admittedly because I enjoy eating the resulting pork cracklings––like fatty pork rinds––but also because we prefer to be involved in the process of everything we eat as much as possible.The process of rendering is essentially cutting the fat into small pieces and putting it in a large pot with some water and letting it cook on medium heat for around an hour until the cracklings are a nice brown. Then strain and let cool. Et voila!––lard! It keeps really well and we'll probably get roughly half a gallon of lard from 5 1/2 pounds of fat at $11. And, since you use less lard, that amount will last us longer––several weeks cooking three meals a day––than the equivalent in olive oil or butter. Plus, we'll save at least $10, not to mention all the fossil fuels, etc., involved with the olive oil process. Hopefully, next year we will have our own pigs....one step closer to sustainability!- Jesse.
CHOCOLATE ALMOND PEAR TART.
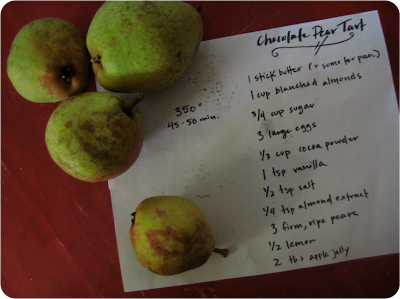
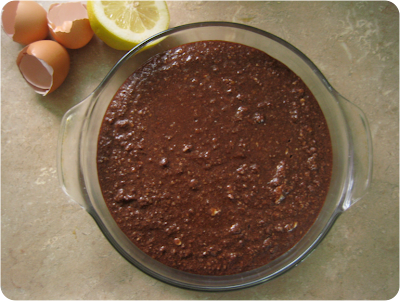
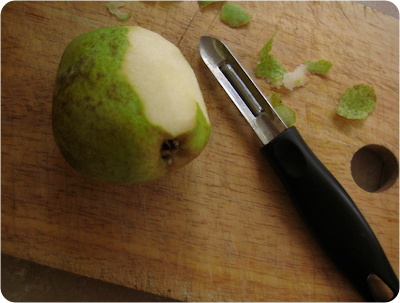
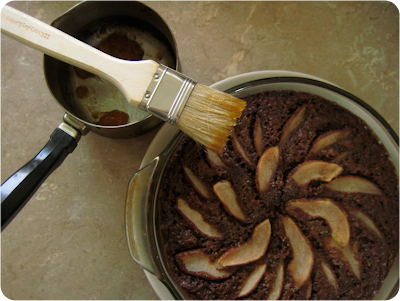
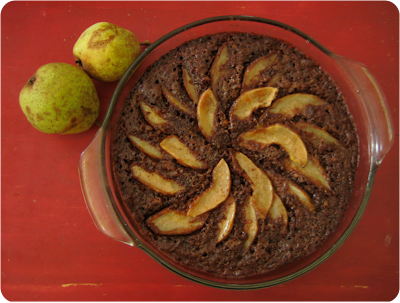
We have been blessed to have an ancient pear tree right in our backyard. It is HEAVY with fruit right now, and we often hear them ker-thunking to the ground, narrowly missing the occasional chicken. We have been eating them daily, and Jesse plans on making cider and wine with the excess, but I wanted to find another way to use them. While looking for recipes, I found this one courtesy of Martha Stewart (who I am kind of obsessed with right now). It turned out great, although I would recommend par-baking the tart for a few minutes before arranging the pears on top. Mine sank a little bit and so the end product was not as lovely as Martha’s….but it tasted delicious!
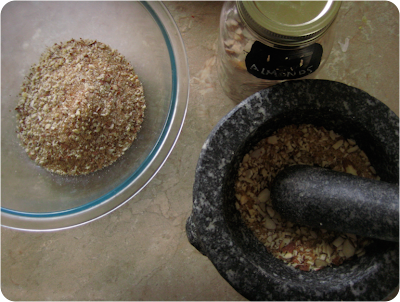
Things I changed in the recipe - raw almonds mashed with the mortar and pestle, turbinado sugar & honey in place of regular sugar, apricot jam instead of apple....and our crazy wild pears instead of Bartlett.
- Hannah.
HANDS-ON COOKING.
One of our favorite wedding presents we received was our giant granite mortar and pestle. It is ridiculously primitive in a way....but also unbelievably satisfying. There is nothing like a hot cup of coffee made with freshly ground beans that you spent several groggy minutes smashing yourself. Jesse and I hope to one day live for awhile without electricity...and our mortar and pestle will then become essential - much more than a novelty item! It most recently was responsible for some delicious pesto. INGREDIENTS: Fresh basil and garlic, some olive oil and pine nuts, and some serious grinding = perfection. Do any of you have a mortar and pestle? What do you use it for? But more importantly - which is the mortar and which is the pestle?!- Hannah.
BETTER BUTTER.
While living at Bugtussle, we had the amazing privilege to drink our daily fill of raw milk. This was new to me at the time (I had previously been a VEGAN!) but I quickly learned to love it. But even better than the milk was the heavenly, golden yellow, raw milk BUTTER. Jesse and I love to dream about the day when we have our own milk cow and our own butter. But until that day, when we we are up to our elbows in milk and yogurt and cheese and butter and kefir – we have to buy cream to make our butter. We use a low-pasteurized local cream (we haven’t yet found a source for raw cow’s milk) and the process is quite simple. Simply fill a mason jar (only about half way full) and shake. And…that’s pretty much it. I usually have to shake for about 10 minutes. As you are shaking, you can feel the cream start to change. It will fluff up and you feel as though it is done, but that is simply the whipped cream. Keep shaking! It will eventually separate (you’ll hear the “KA-CHUNK KA-CHUNK” again as you are shaking). Then you can pour the contents through a screen (save the liquid…that is buttermilk!) and work the liquid out of the yellow, solid butter. Run cold water over the butter as you press and squeeze out the liquid. You can then scoop the butter into a mold, if you like, or add salt or other herbs. This works well for us as it makes a lot of small batches and you don’t have to worry about making too much. It definitely is NOT cost effective for us (We eat. A LOT. Of butter.) But it is a lot of fun. Also, I am pretty sure this would be an awesome way to buff up your arm muscles….it’s tough work! Someday, we will have enough of our own milk to use our beautiful butter churn (thank you Elin!), but until then, I’ll just keep on shakin'.
